Chemistry is an exciting subject for children of any age, especially if you set up a natural discovery environment for them to explore safely. Let’s find out how to do this in your own home with your own children. In college, one of the first things you’ll learn in your chemistry class is the difference between physical and chemical changes.
An example of a physical change occurs when you change the shape of an object, such as when a sheet of paper is rolled up. If you set fire to the wad of paper, you now have a chemical change. You are rearranging the atoms that used to be the molecules that made up the paper into other molecules, like carbon monoxide, carbon dioxide, ash, etc. There is an easy way to tell if you have a chemical change. If something changes color, it emits light (like the glow sticks used on Halloween), absorbs heat (gets cold), or produces heat (gets hot). Some quick examples of physical changes include ripping fabric, rolling dough, stretching rubber bands, eating a banana, or blowing bubbles.
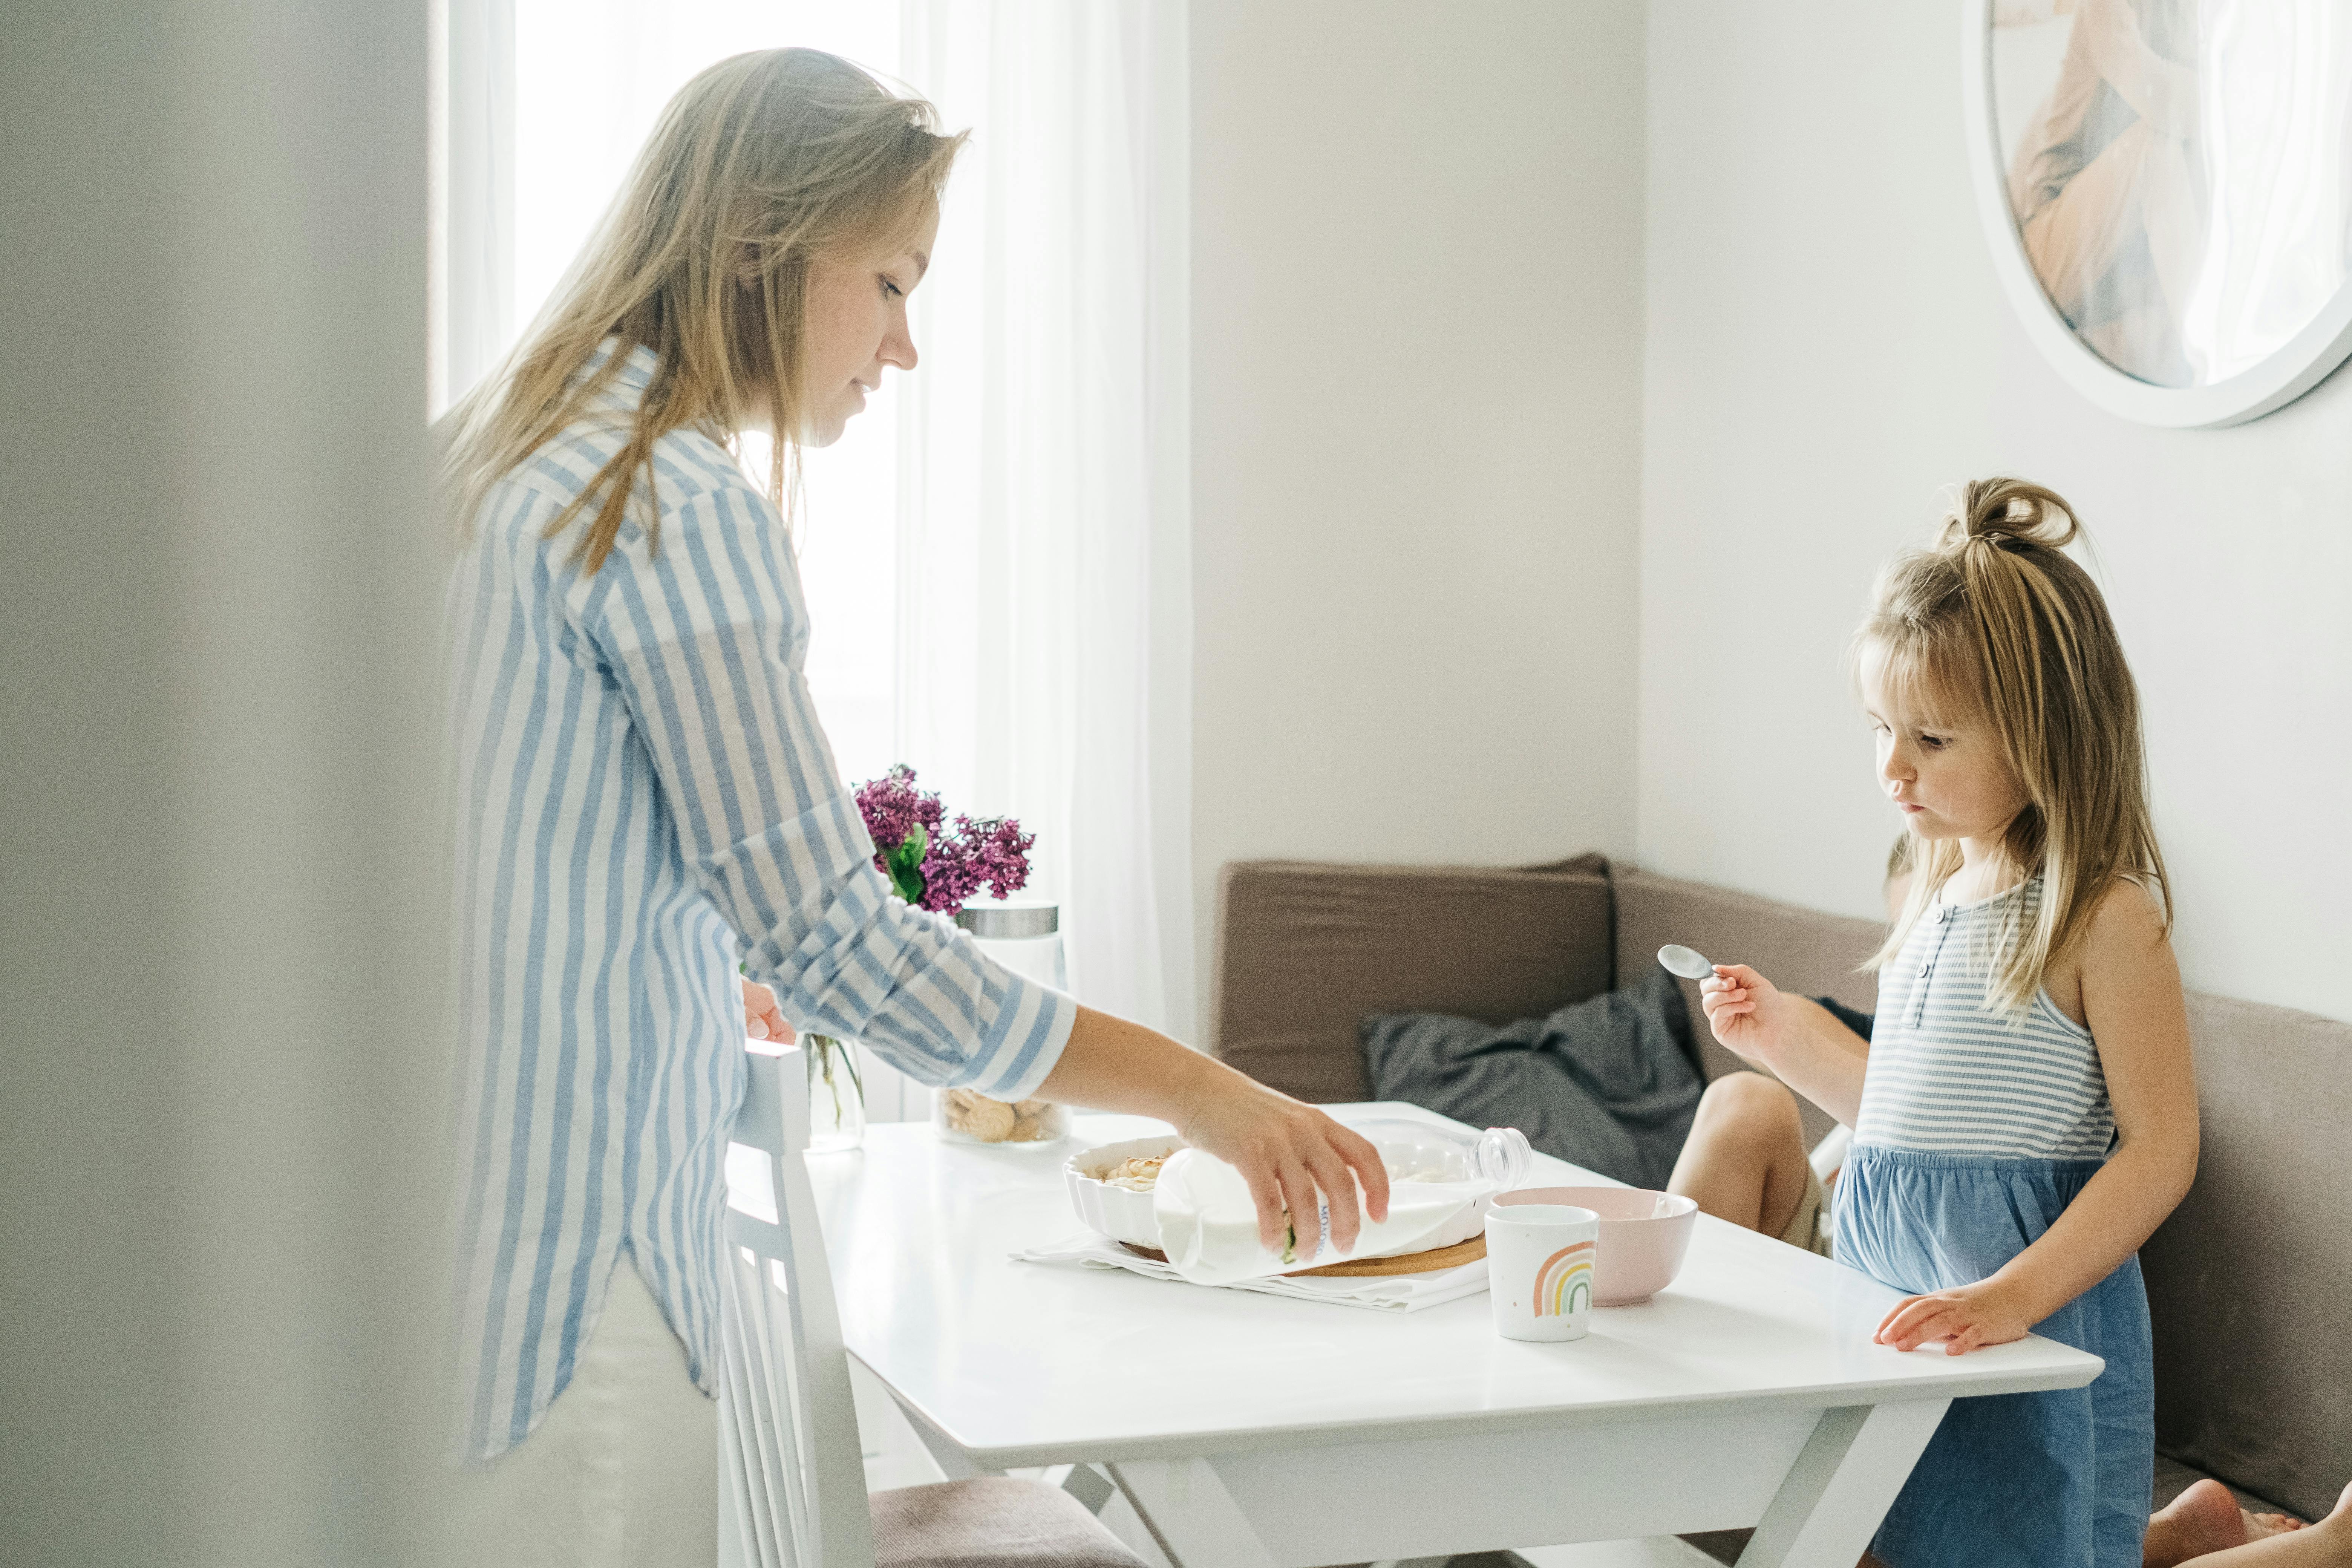
Let’s do some experiments that demonstrate the chemical changes we just mentioned. The setup will look like your kitchen table covered in a plastic tablecloth. On your table will be several bottles of clear liquids and white powders along with small measuring spoons and a tray of muffin tins.
Your mission: To find the reactions that generate the most heat (exothermic), absorb the most heat (endothermic), and which are the most impressive in their reaction (the ohhhh-ahhhhh factor). NOTE: Although these chemicals are not harmful to your skin, they can make your skin dry and itchy. Wear gloves (latex or similar) and eye protection (safety glasses), and if you’re unsure about an experiment or chemical, just don’t do it.
Gather these before you begin: a muffin baking pan, water, vinegar (acetic acid), baking soda (sodium bicarbonate), baking soda (sodium carbonate), isopropyl alcohol, hydrogen peroxide, citric acid (store of groceries), aluminum sulfate (“alum” in the spice section of the grocery store or the pharmacy section of the drug store), and a clear liquid dish soap such as Ivory. Put all these items on your table.
And a head of red cabbage.
red cabbage? Yes! Red cabbage juice has anthocyanin, which makes it an excellent indicator for these experiments. Anthocyanin is what gives leaves, stems, fruits, and flowers their colors. Did you know that certain flowers like hydrangeas turn blue in acidic soil and pink when transplanted into basic soil? The next step of the experiment will help you understand why. You’ll need to get the anthocyanin out of the cabbage and convert it to a more useful form, like a liquid “indicator.”
Prepare the indicator by coarsely chopping the head of red cabbage and boiling the pieces for five minutes on the stove in a pot filled with water. Carefully strain all the pieces (use cheesecloth if you have it) and the reserved liquid is your indicator (it should be purple). When you add this indicator to different substances, you will see a range of colors from hot pink to tangerine orange, sunshine yellow, emerald green, ocean blue, and velvet purple. Try adding drops of indicator to something acidic, like lemon juice, and see how different the color is when you add indicator to a base, like baking soda mixed with water.
Put your liquid chemicals in easy-to-pour containers like water bottles (be sure to label them, they all look the same!): rubbing alcohol, hydrogen peroxide, water, vinegar, and dish soap. (Skip peroxide and alcohol with young children.) Put out small bowls (or zipper bags if you’re doing it with a crowd) of the powders with “scoops” made from the tops of your water bottles: baking soda, sodium carbonate, citric acid, ammonium nitrate, chloride of calcium and alum. The little “scoops” regulate the amounts you need for a muffin-sized reaction.
Keep your indicator in a bottle alone. Old soy sauce bottles or other bottles with a built-in regulator that keeps the pour from dripping are perfect. You can also use a container with a bulb syringe, but cross-contamination is a problem. Or not, depending on whether you want children to see the effects of cross-contamination during your experiments. (The indicator cup will continuously change color throughout the experiment.)
The experiment: Start mixing it up! When I personally teach this class, I let them have all the chemicals at once (even the indicator) and of course this leads to a chaotic mix of everything. After the initial burst of enthusiasm, students will inherently begin to ask better questions. They’ll want to know why their gooey cool green is dragging on the floor with their neighbor’s that just oozed a hot pink liquid, apparently with the same thing. Let them figure out a system for remembering which chemical goes where and with which to get the reaction they’re looking for.
Periodically hold your hand under the muffin tins to test the temperature. Use the indicator before and after mixing chemicals, and you’ll be amazed and amazed at the results! Enjoy!